Bare Metal WebServer On Pi PicoW

Intro⌗
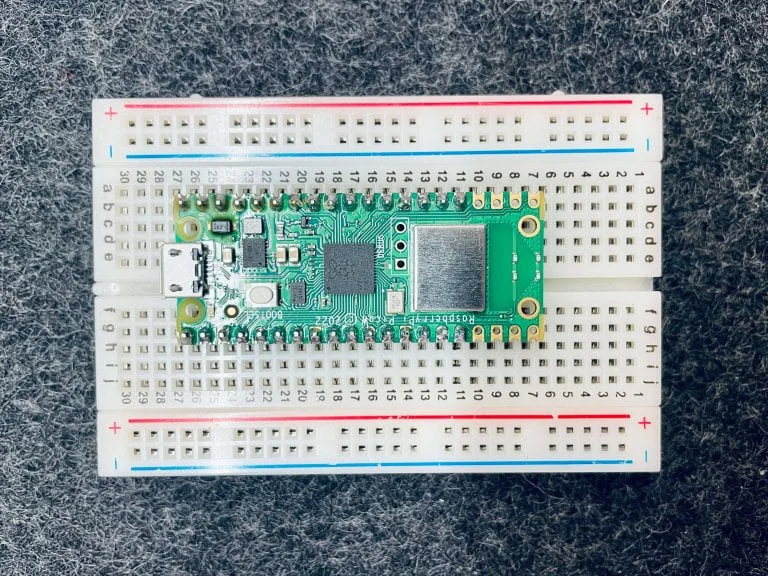
I’ve been pretty into the Raspberry Pi Pico family lately—it looks nice, and it’s new, there is a fast-growing community there, and it would be cool to play together. Pico W is the newer member with the…well, you guess…the Wireless capability. I thought it would be nice to set up some code to allow me to send data from the terminal to the Pico through wifi.
Arduino-Pico⌗
This is an Arduino Core for the Pico, which based on the official Raspberry Pi Pico SDK but with more add-ons. That basically allows you to use Arduino libraries. You can find their Github link here and the latest documentation here. This project is very active.
PlatformIO setups⌗
I would be running PlatformIO as a plugin on VSCode, and the environment setup file platformio.ini will be:
[env:picow]
platform = https://github.com/maxgerhardt/platform-raspberrypi.git
board = rpipicow
framework = arduino
board_build.core = earlephilhower
As you may already notice, we are not going to use the official core but replace it with the Arduino-Pico core. Also, don’t forget to change the board name.
Neat Functions⌗
The only library we gonna need is the Arduino-Pico Core WiFi, so do #include <WiFi.h>
It will be convenient to have a function that takes in the port number you want and returns a pointer to the server object created. It would be something like this:
WiFiServer* webserver_create(int port){

    WiFiServer* pserver = new WiFiServer(port);

    return pserver;
}
We can implement the connect functionality as a function like this:
void webserver_connect(const char* ssid, const char* password, WiFiServer* server)
{

    WiFi.mode(WIFI_STA);
    WiFi.setHostname("PicoW_HOST");
    Serial.printf("Connecting to '%s' with '%s'\n", ssid, password);
    WiFi.begin(ssid, password);
    Serial.print("Connecting");
    while (WiFi.status() != WL_CONNECTED)
    {
        Serial.print(".");
        delay(500);
    }
    Serial.printf("\nConnected to WiFi\n\nConnect to server at %s:%d\n", WiFi.localIP().toString().c_str(), server->port());
    server->begin();
}
So it passes the SSID, password, and the WiFiServer by reference. The first thing we gonna do is setting the Wifi mode to STAtion instead of AP. And we wait till the WiFi’s connected, then start the server.
main.cpp⌗
const char *ssid = "Your_SSID";
const char *password = "Your_Password";
WiFiServer *server = webserver_create(4269);
We create the corresponding input for the webserver_connect() function, pick a port number you like.
The Pico W has an Arduino core, so of course, we can use the beloved function pair–setup() and loop():
void setup()
{
  Serial.begin(115200);
  webserver_connect(ssid, password, server);
}

void loop()
{
  WiFiClient client = server->available();
  if (!client)
  {
    return;
  }
  client.printf("pico boi: say something and hit ENTER!\n");
  //if there is a client:
  while (!client.available())
  {
    delay(10);
  }
  String req = client.readStringUntil('\n');

  Serial.println(req);
  client.printf("pico boi: got it\r\n");
  client.flush();
}
What in the loop() is a very basic web server demo code. For every loop, it first checks if there is a client connecting to the server; if not, it goes back and checks again until a client appears; then, we record the data sent over till the newline character. Then we respond back with “got it,” destroy the client object, and be ready for new inquiries.
WebServer In Action⌗
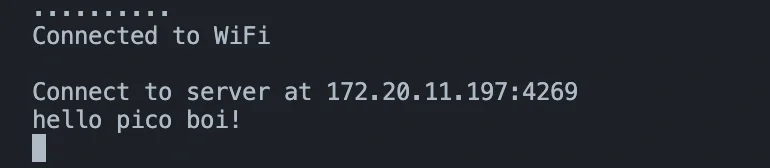
Power the Pico W, open the serial monitor, we can see:

This is the IP address of the Pico W and the port number for the Webserver running on it. We have a lot of ways to send data to the server, normally we will be sending HTTP requests to the server, such as GET and POST, if we are dealing with a modern webserver, it would be better to use something like cURL, but that does not allow us send raw data easily. Instead, I would be using netcat, on MacOS/Linux, you can do:
#nc ip-address port
nc 172.20.11.197 4269

Now lets take a look at the serial monitor:
Cool, we just got the whatever stuff we just sent echoed back to us! Starting here, we can build many more interesting projects!