DeepFaceLab-Based AI Face-Change Tutorial

Introduction
AI face change is a product under Neuro Network and Machine Learning technologies. And this article aims to be a tutorial that could let people who do not have experience in Machine Learning to replace the face in one video with other faces.
Key Words: #deepfakes #faceswap #face-swap #deep-learning #deeplearning #deep-neural-networks #deepface #deep-face-swap #fakeapp #fake-app #neural-networks #neural-nets
What is DeepFaceLab?
DeepFaceLab is a tool that utilizes machine learning to replace faces in videos. Github Project: Click here. DeepFaceLab does not have GUI but it does not require a high RAM (at least 2g).
1. Environment
Hardware requirement:
I. Graphics Card: Nvidia Graphic Card with CC(Compute Capability)>3.0 CC Chart, or at least GTX 1060 6G. AMD not be supported 🙁
II. CPU: Intel or AMD CPU recommended with RAM>8G
III. OS: Windows 10 x64
Software requirement:
I. Microsoft Visual Studio 2015: Download
in custom option, select Visual C++
II. CUDA 9.0 For Windows 10: Download
III. CuDNN 7.0.5: Download
Open the downloaded CuCNN zip, and copy the three files in it to CUDA’s install location
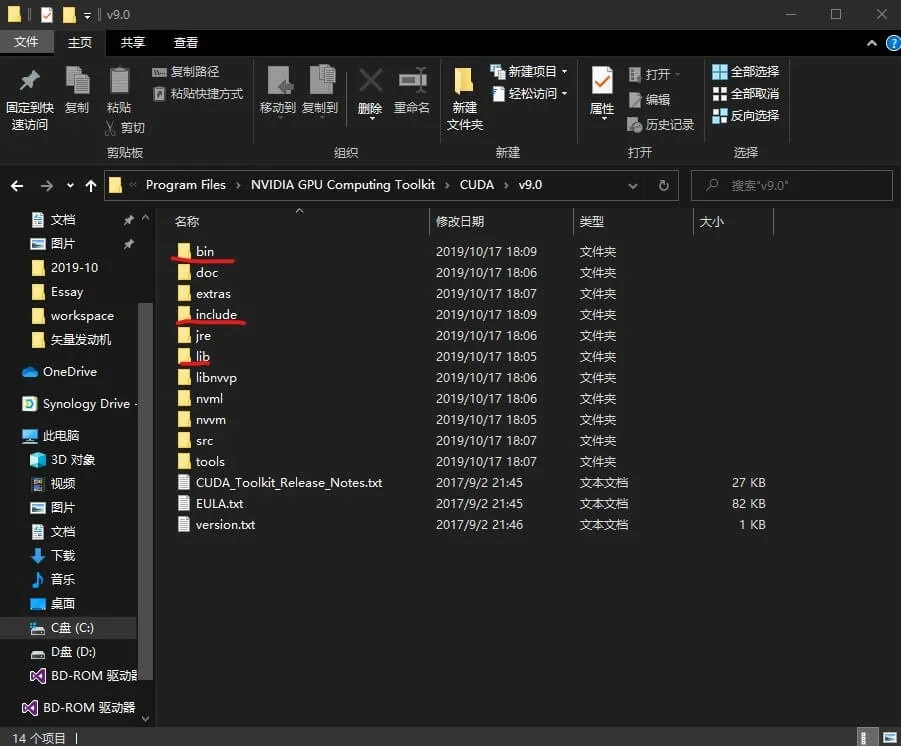
Red files were copied from the CuDNN file
The Environment in this tutorial:
Graphics Card: Nvidia GTX GeForce 1070 8G
RAM: 16.0GB
CPU: Intel(R) Core(TM) i7-7700k 4.2GHz
OS: Windows 10 Pro 1903 – 18362.10024
2. DeepFaceLab
I. Install:
DeepFaceLab: Download
II. Preparation
- Prepare two videos, and name them:
The video has the face need to be replaced as data_dst
The video has the face to replace to another video’s face as data_src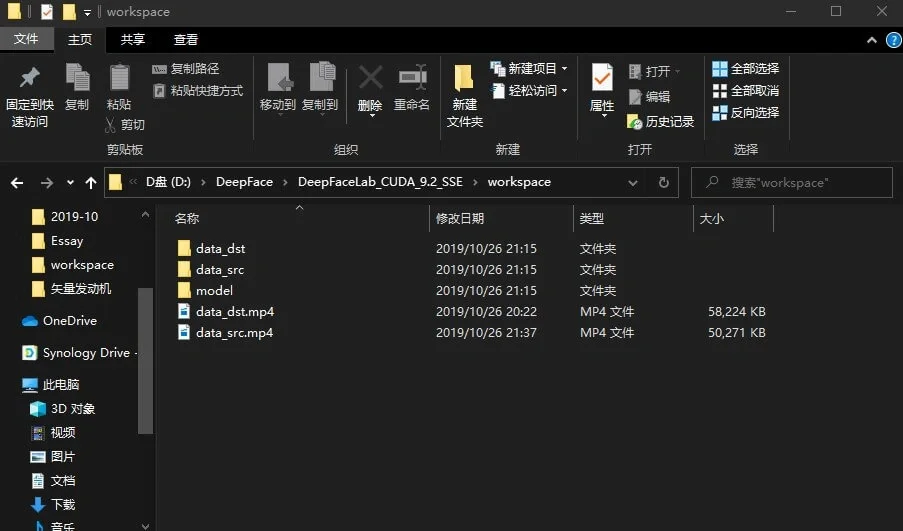
- Put those two into the workspace
III. Processing
There are many .bat files, do as shown below:
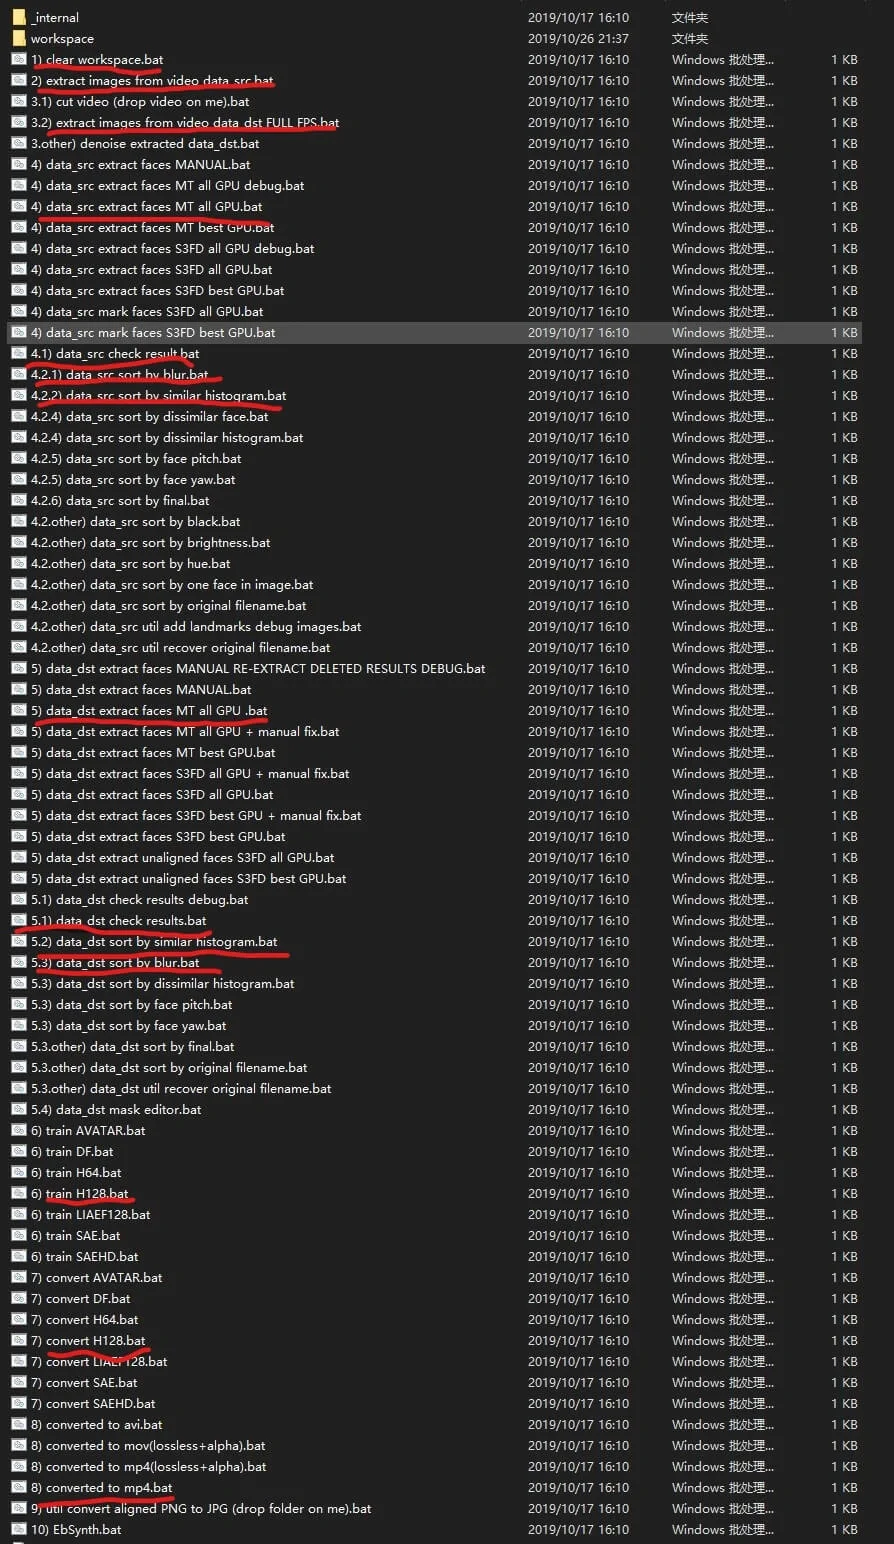
All .bat needed
(1) clear workspace
While doing a new model of Face Change, you want clear the previous data
(2) extract images from video data_src
Using Enter to skip (set as default)
(3.2) extract images from video data_dst FULL FPS
Using Enter to skip (set as default)
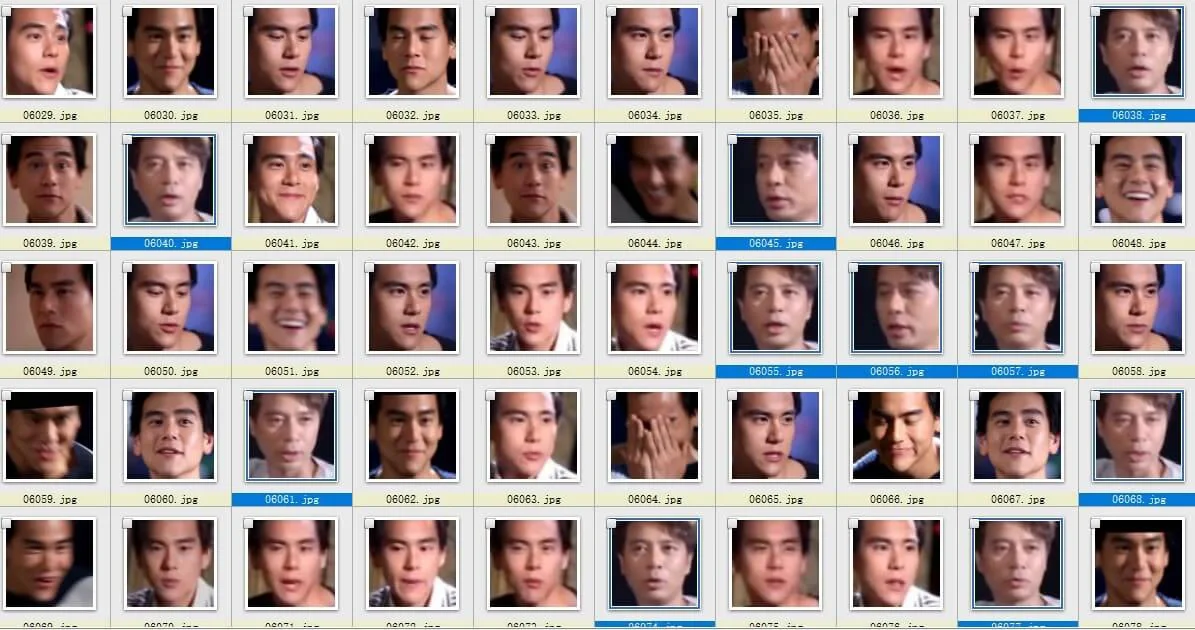
(4) data_src extract faces MT all GPU
Identify the faces in data_src and pull out
(4.2.2) data_src sort by similar histogram
(4.1) data_src check result
Delete unpleasant faces
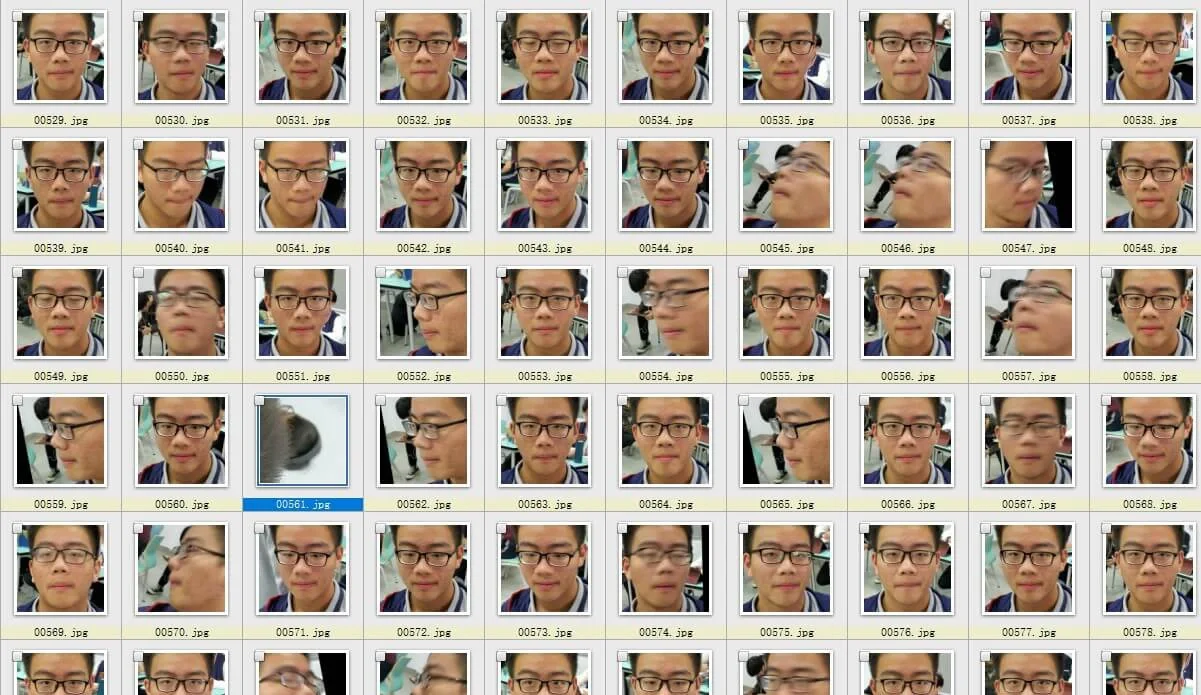
(4.2.1) data_src sort by blur
(4.1) data_src check result
Delete unpleasant/non-target faces
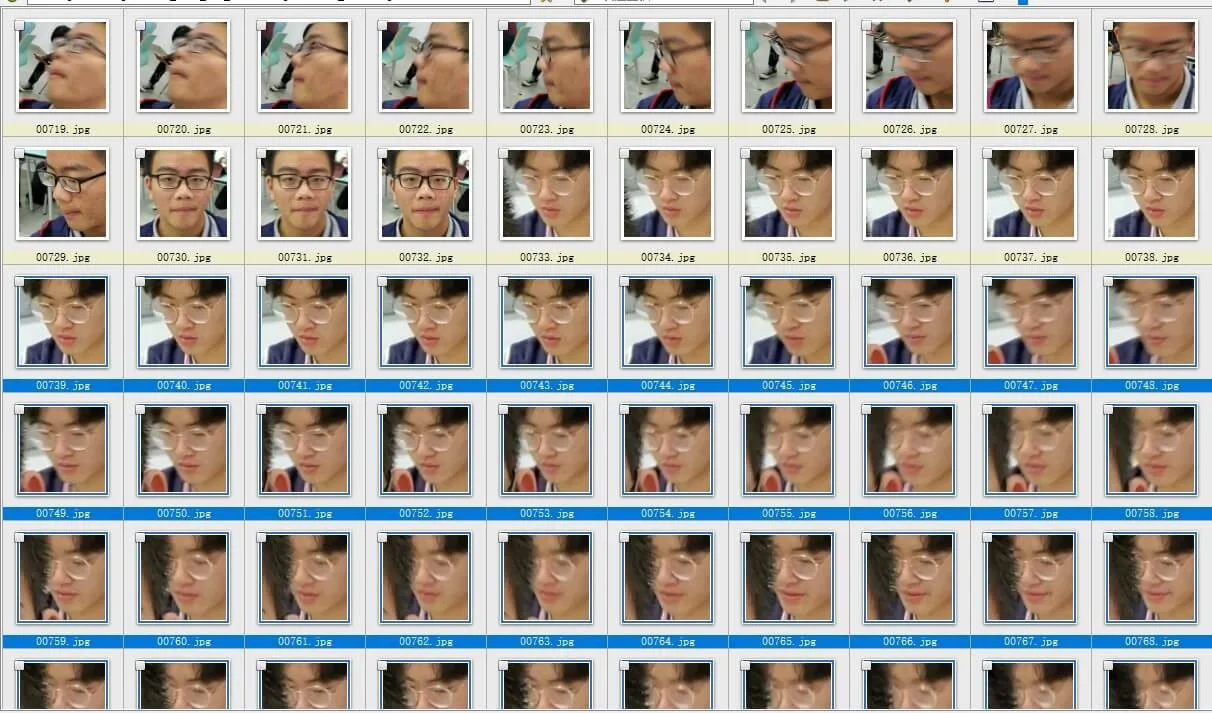
(5) data_dst extract faces MT all GPU
(5.2) data_dst sort by similar histogram
(5.1) data_dst check results
Delete unpleasant faces
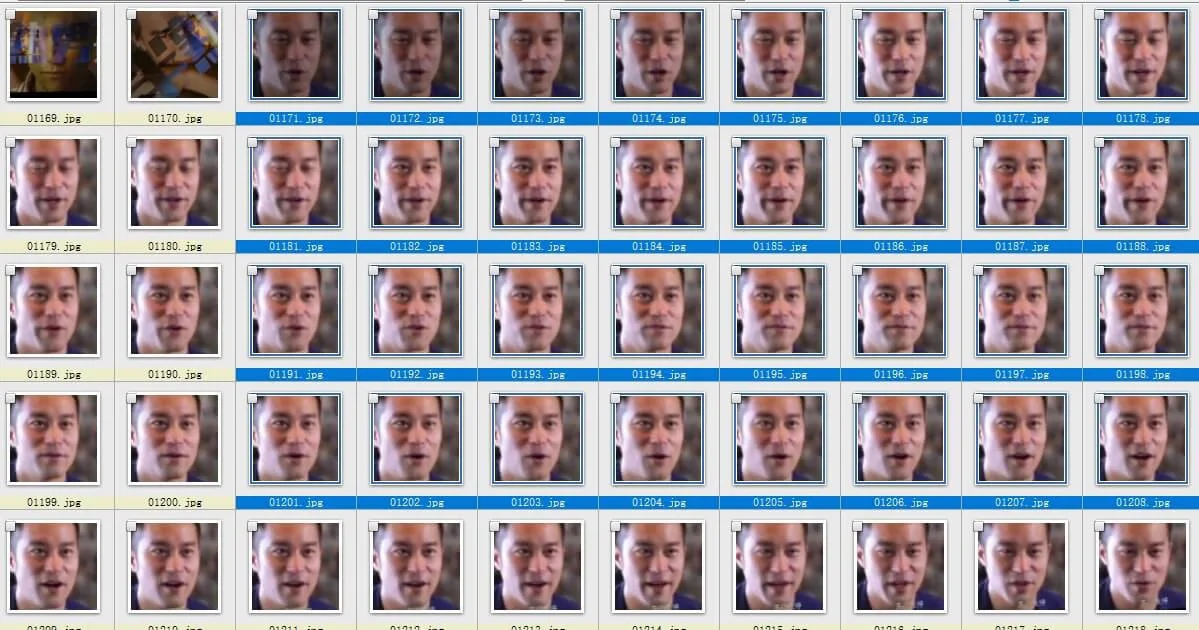
(5.3) data_dst sort by blur
(5.1) data_dst check results
Delete unpleasant faces
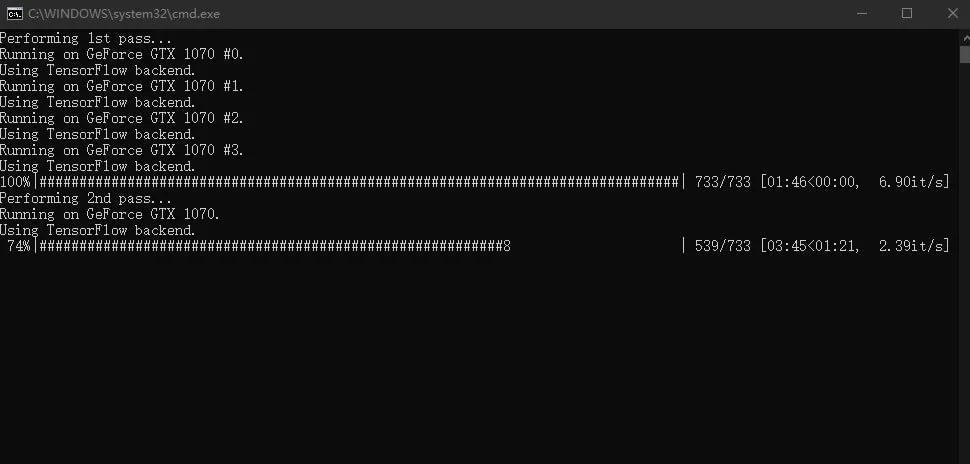
(6) train H128
Using Enter to skip (set as default)
Press P to update previews; press Enter to save and quit
We wait until the loss rate close to 0.02
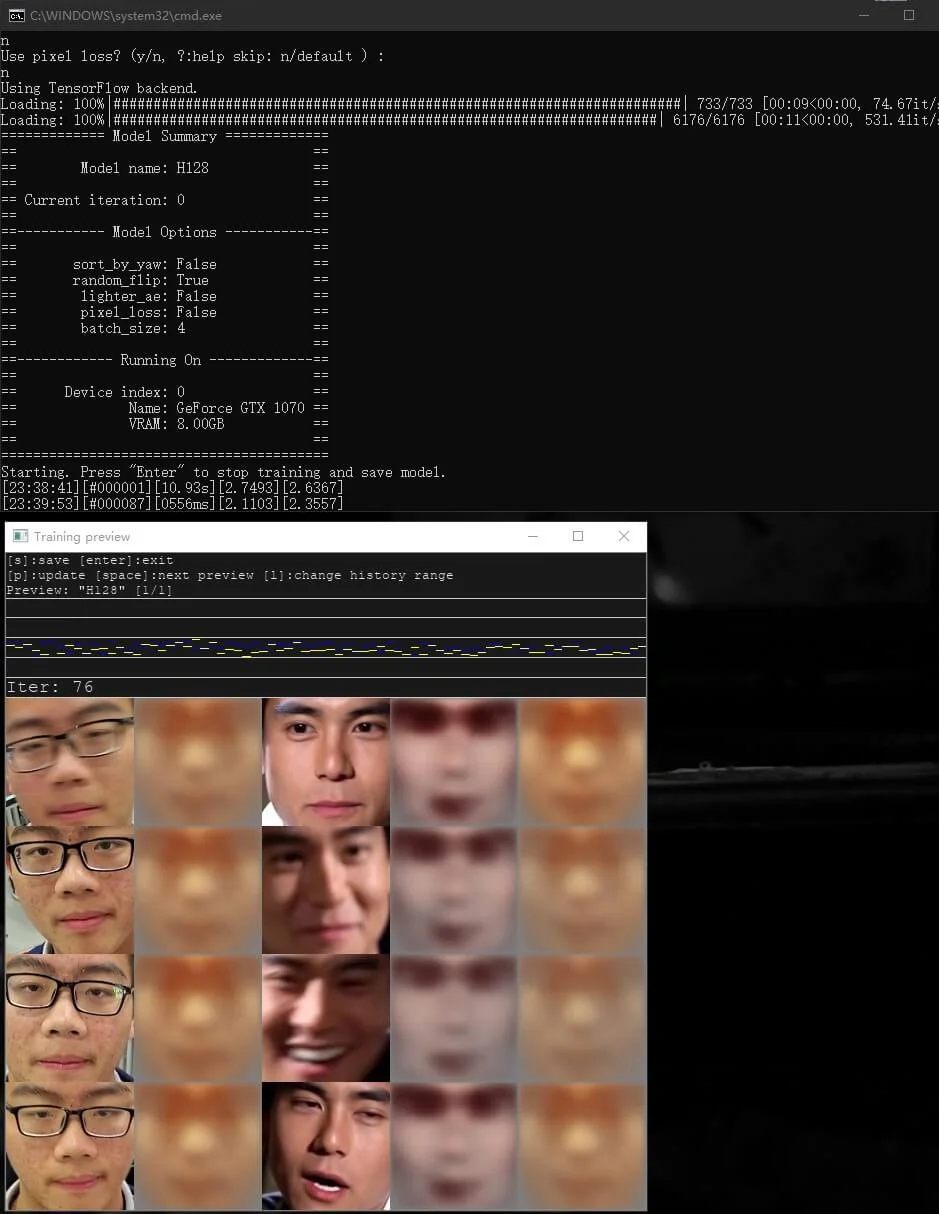
Training state with around 2.5 loss rate

Training state with around 1.0 loss rate
(7) convert H128
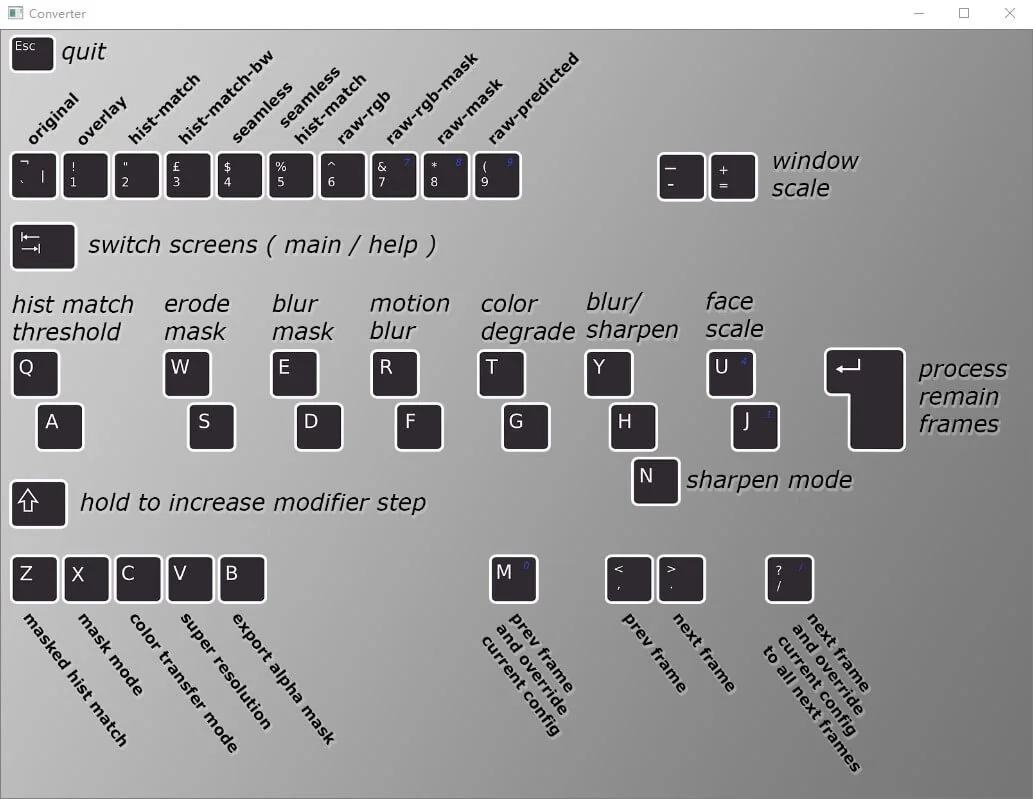
Keys
Blending
Factors:
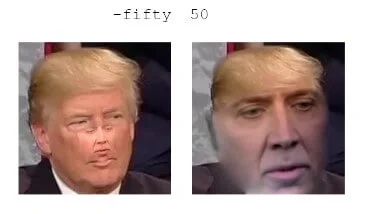 Face Scale 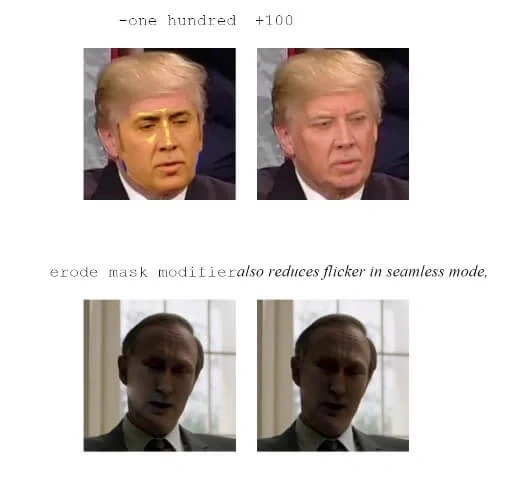 Erode mask |
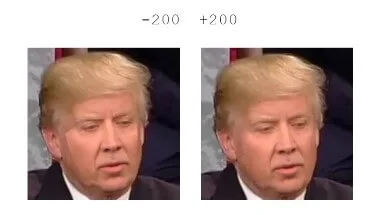 Blur Mask 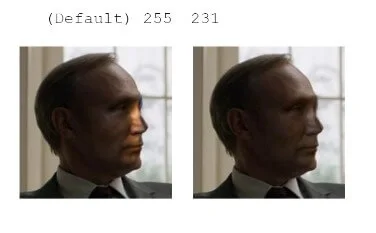 Hist match |
|---|
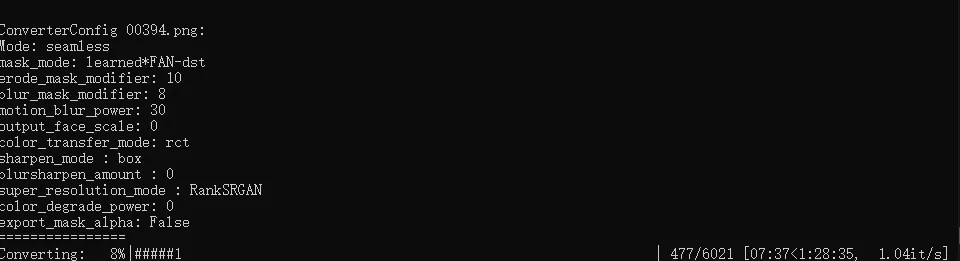
Factors in the example
Press Enter to convert the whole frames
(8) converted to mp4

Whole video would be uploaded later, video was on but now is off due to copyrights violations